
Introduction
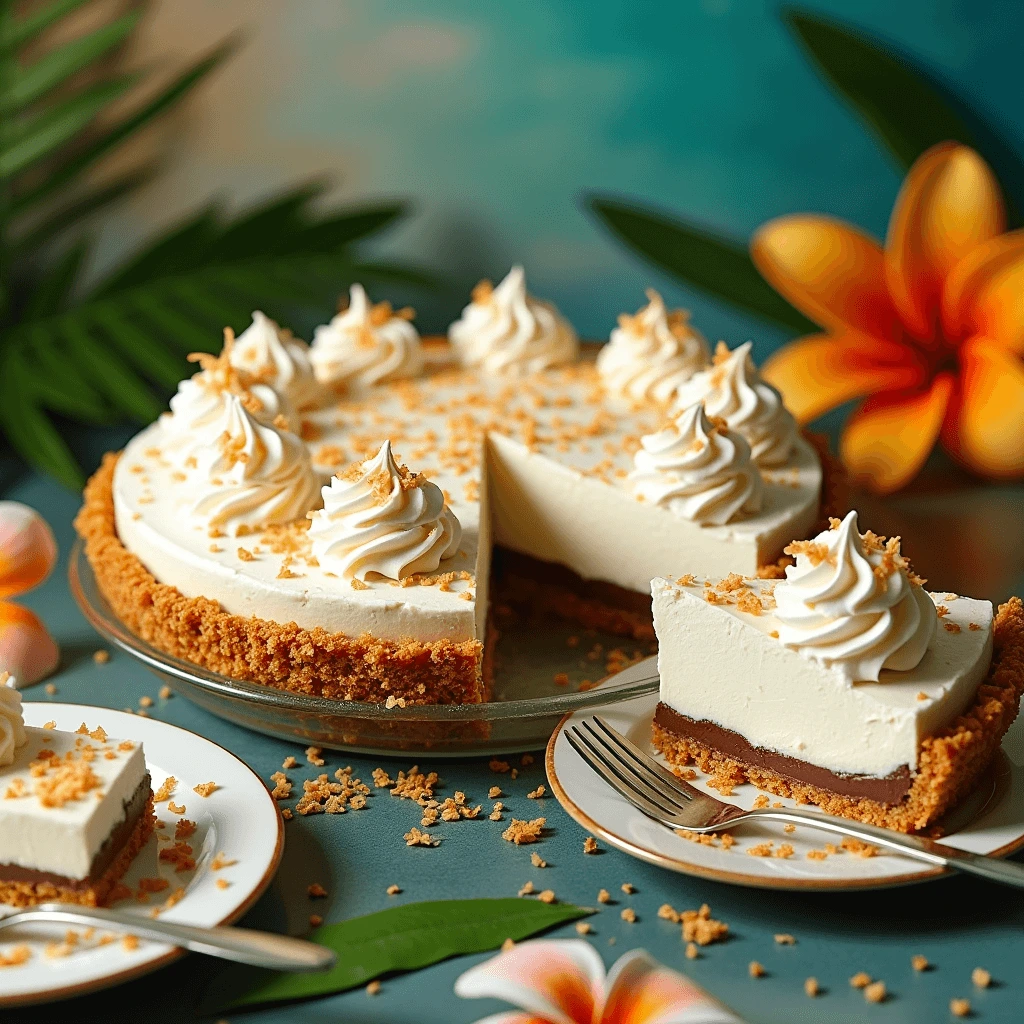
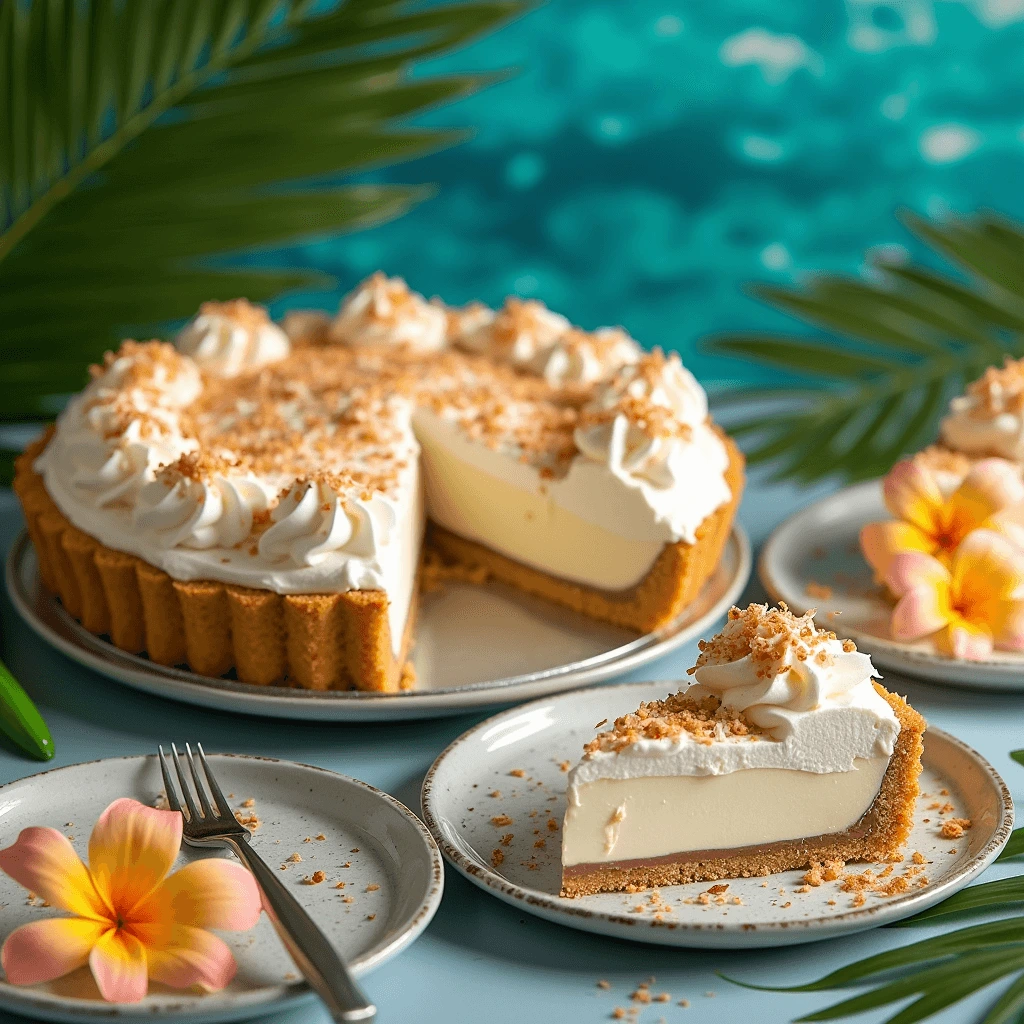
Haupia Pie is a classic Hawaiian dessert that combines the tropical flavors of coconut with a smooth and creamy texture. Whether you’re a fan of Hawaiian cuisine or simply love coconut desserts, this easy recipe will help you create a perfect Haupia Pie at home. Let’s dive into the details!
What Is Haupia Pie?
Key Ingredients in Haupia Pie
- Coconut Milk: The star of the recipe, providing a creamy and tropical flavor.
- Cornstarch: Helps thicken the coconut filling to achieve a pudding-like consistency.
- Chocolate Layer (Optional): Adds richness and depth to the pie.
- Graham Cracker Crust: A buttery and slightly sweet base that complements the creamy filling.
Ingredients You’ll Need
For the Crust
- 1 ½ cups graham cracker crumbs
- ¼ cup sugar
- 6 tablespoons unsalted butter, melted
For the Haupia Filling
- 1 can (13.5 oz) coconut milk
- 1 cup whole milk (or an extra cup of coconut milk for more flavor)
- ½ cup granulated sugar
- ½ cup cornstarch
- 1 teaspoon vanilla extract
For the Chocolate Layer (Optional)
- 1 cup semi-sweet chocolate chips
- ½ cup heavy cream
For the Topping (Optional)
- Whipped cream
- Toasted coconut flakes
Step-by-Step Instructions for Haupia Pie
Step 1: Prepare the Crust
- Preheat your oven to 350°F (175°C).
- In a bowl, combine graham cracker crumbs, sugar, and melted butter. Mix until evenly combined.
- Press the mixture into a 9-inch pie pan, ensuring it covers the bottom and sides.
- Bake for 10 minutes and let it cool completely.
Step 2: Make the Chocolate Layer (Optional)
- Heat heavy cream in a small saucepan until it just begins to simmer.
- Pour the hot cream over the chocolate chips in a bowl. Let it sit for 1–2 minutes.
- Stir until smooth, then pour the mixture over the cooled crust. Spread evenly.
- Refrigerate for 30 minutes to set.
Step 3: Prepare the Haupia Filling
- In a saucepan, whisk together coconut milk, whole milk, sugar, and cornstarch until smooth.
- Cook over medium heat, stirring constantly, until the mixture thickens (about 7–10 minutes).
- Remove from heat and stir in vanilla extract.
- Pour the haupia filling over the chocolate layer (or directly over the crust if skipping chocolate).
Step 4: Assemble and Chill
- Smooth the top of the pie with a spatula.
- Cover the pie with plastic wrap and refrigerate for at least 3 hours, or until the filling is fully set.
Tips for the Perfect Haupia Pie
Thickening the Filling: Make sure to stir the filling continuously while cooking to prevent lumps and achieve the perfect pudding-like consistency.
Substitutions: For a gluten-free option, use gluten-free graham crackers for the crust.
Decorating: Top with whipped cream and sprinkle with toasted coconut flakes for a tropical flair.
Frequently Asked Questions About Haupia Pie
Can I Make Haupia Pie Without Chocolate?
Yes, the pie is delicious without chocolate! The creamy coconut filling is flavorful enough to stand on its own.
How Long Does Haupia Pie Last in the Fridge?
Haupia Pie can be stored in the refrigerator for up to 3–4 days. Be sure to keep it covered to prevent the filling from drying out.
Can I Use a Pre-Made Crust?
Absolutely! A pre-made graham cracker crust is a great shortcut if you’re short on time.
What Can I Serve with Haupia Pie?
Pair this pie with tropical sides like a fresh fruit salad or a refreshing drink like pineapple juice.
Conclusion
Haupia Pie is a simple yet impressive dessert that brings the tropical flavors of Hawaii straight to your table. Its creamy coconut filling and optional chocolate layer make it a crowd-pleaser for any occasion. Try this recipe today and enjoy a slice of paradise!
Let me know how your Haupia Pie turns out, and feel free to explore more tropical dessert recipes on the blog.
1 thought on “How to Make the Perfect Haupia Pie: Step-by-Step Recipe”